This guide will explain how you can configure so that certain groups of people only can book certain desks.
Prerequisites:
Desks and workspaces have been created. Ff these steps are not done yet, see our desk setup guide.
Terminology:
- Tenant (group of users used to control access)
- Workspace (group of desks)
Step by step
- Go to “Users&Tenants” in Meetio Admin.
- By default, there is one tenant named “standard”. Tenants will be used to group your users and assign access to the different workspaces (group of desks).
- You can begin by creating new tenant(s) by clicking “New tenant” in the top right corner. Give it a name and click save.
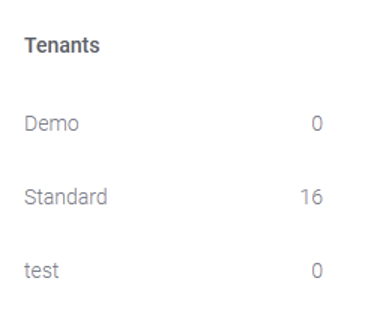
- Once your tenants are created, you will see them in the column to the left:
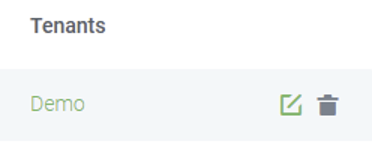
- Click the little pen icon next to one of the tenants to edit the settings
- Here you can configure a number of settings.
Under “Domains”, you can set an email domain so that anyone with a specific email domain will automatically be placed within this tenant when they login for the first time. Do you not see any domains listed? Open a Support Case and we will help you set it up.
Under “Access Control”, you can configure what this group of users will have access to. You can set it to a specific site/building/floor/workspace. This will control which desks the users can book
Checking the box “Main tenant” will make it so that by default when a user is created, they will be assigned to that tenant.
7. If you already have users that were created from before or want to manually assign a user to a tenant, you do that simply by clicking edit next to the user and selecting the appropriate tenant under “tenants”.
Done!